Japan Pocket Wifi Rental
Japan eSIM : Fast & Easy & UNLIMTED
Japan Travel eSIM
Visit Japan Web (VJW) is a free digital service provided by Japan’s Digital Agency. Instead of filling in paper immigration cards and customs declaration forms on the plane, you complete everything in advance through the VJW website or app — and show a single QR code when you arrive. It’s faster, reduces queues, and eliminates the risk of making handwriting errors at the last minute.
This guide walks you through every screen of the registration and entry process, with screenshots taken directly from the official VJW interface.
It’s super easy to book your tickets for the Tokaido–Sanyo Shinkansen line online!
Check fares and seat availability here
Our VJW FAQ & Troubleshooting section below covers the most common questions, or see our separate VJW FAQ Guide →
Supported Airports
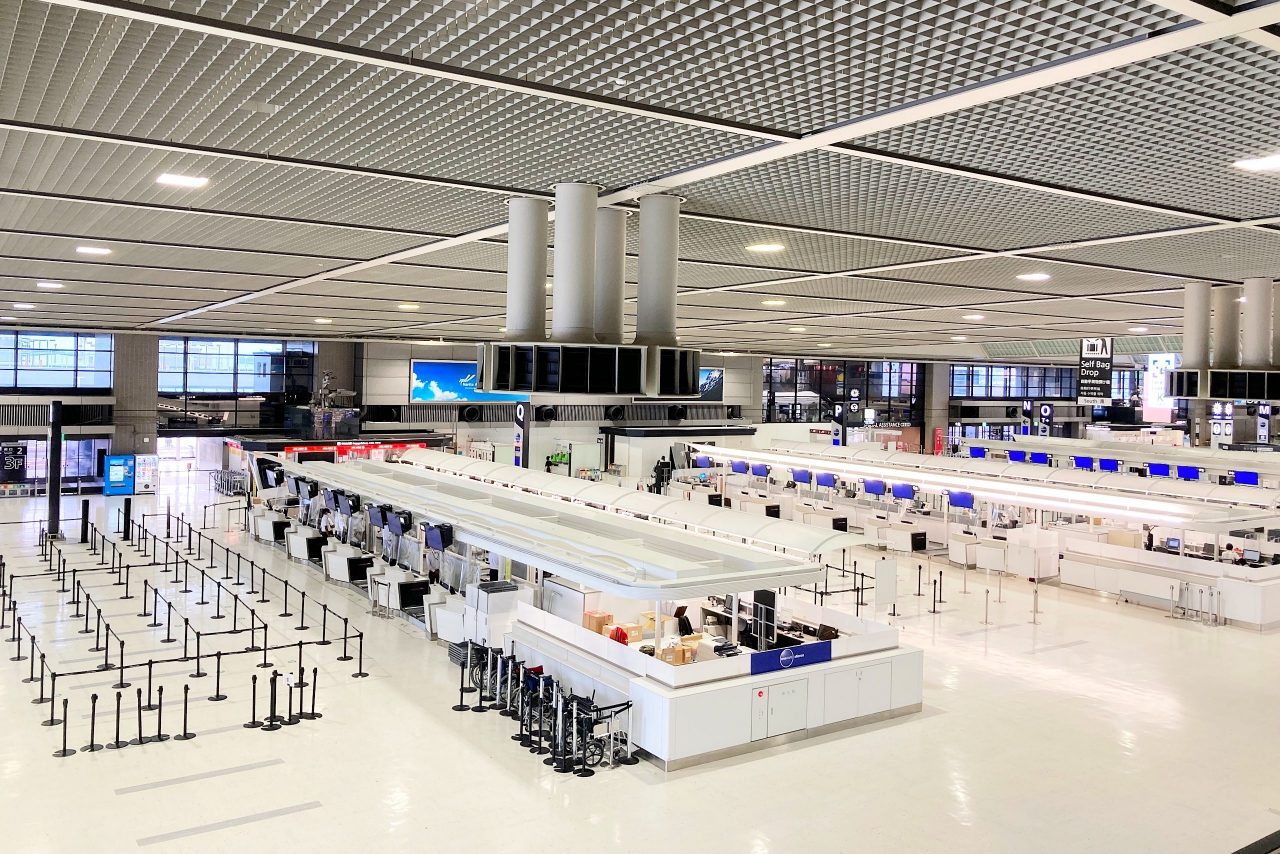
VJW can only be used for expedited entry at the following eight airports in Japan. If you are arriving at any other airport, you will need to complete paper forms as usual.
Before you start — staying in Japan longer than 30 days?
If you’re coming for 3 to 12 months as an exchange student, working holidaymaker, short-term expat, or long-stay Airbnb renter, your internet plan is one of the most important things to arrange before you fly. Our complete guide compares WiFi, SIM, and eSIM by stay duration and visa type.
Part 1 — Register Your Details (One-time setup)
This section only needs to be completed once. Your personal details are saved to your account and reused for every future trip.
Step 1 — Open “Your Details”
From the VJW home screen, tap “Your Details” to begin registering your personal information.

Step 2 — Entry or Return?
VJW asks whether you are making a new entry into Japan (visiting as a tourist or first-time arrival) or a return (re-entering Japan as a resident or long-term visa holder).
- Entry: Select this if you are visiting Japan as a tourist, on a short-term stay, or for the first time.
- Return: Select this if you hold a Japanese residence card, permanent resident status, or a long-term visa such as a work or student visa.

Step 3 — Passport Details
Enter your passport details exactly as they appear on the bio-data page of your passport. Even small discrepancies can cause delays at the immigration counter. Fields required:
- Passport number
- Full name (as printed)
- Nationality
- Date of birth
- Sex
- Passport expiry date
Step 4 — Intended Address in Japan (optional)
This field is optional at the “Your Details” stage. If you have a regular address or place of stay in Japan (for example, a frequent hotel or a friend’s home), you can enter it here to save time later. You will have another chance to enter your address when registering your specific trip.

Step 5 — Registration Complete
Once all required fields are filled, you will see a “Registration complete” confirmation screen. Your details are now saved to your account.

Part 2 — Register Your Planned Trip
Once your personal details are saved, you need to register each trip to Japan separately. This is where you enter your specific flight details and accommodation address.
Step 1 — Start a New Registration
From the home screen, tap “New registration” to open the “Register Planned Entry/Return” screen.

Step 2 — Enter Your Flight Details
Fill in the following required fields. Use the details of your final arriving flight into Japan — not a connecting flight.
- Trip name (your choice)
- Planned arrival date
- Airline company name
- Flight number (numbers only)
- Boarded flight number

Step 3 — Enter Your Address in Japan
Enter the address where you will be staying in Japan for this trip. All fields below are required:
- Postal code
- Prefecture
- City
- Address
- Hotel name / place of stay
- Contact phone number

Step 4 — Add Family Members (if applicable)
If you are travelling with family members, select “Family member accompanying you” and add them to your registration. Family members do not need their own VJW accounts — they can be added under the primary traveller’s registration.

Step 5 — Confirm and Complete
Review all the information you have entered, then confirm to complete the trip registration.


Left: review screen · Right: registration complete
Part 3 — Complete Entry/Return Procedures
With your trip registered, you now need to complete two forms before your departure: the Disembarkation Card (immigration) and the Customs Declaration. Both generate part of your final QR code.
Disembarkation Card (Immigration)
The Disembarkation Card is the digital equivalent of the paper immigration card. Japanese nationals, permanent residents, and foreign nationals with a residence card do not need to fill this in — the button will be greyed out in the app.
Open the “Japan Entry/Return Procedure” screen and tap “Disembarkation Card For Foreigner”. Fill in your basic information:
- Full name
- Date of birth
- Nationality
- City of birth


Fill in your immigration information. Use the details of your final arriving flight into Japan.
- Purpose of visit
- Specific purpose for visit
- Last flight number
- Intended length of stay

Enter your address in Japan again (same as Part 2, Step 3). Then answer the short declaration questions at the end of the form.


Left: address section · Right: declaration questions

Confirmation screen after completing the Disembarkation Card
Customs Declaration
The Customs Declaration covers the goods you are bringing into Japan. It replaces the paper declaration form previously handed out on the plane.
From the “Japan Entry/Return Procedure” screen, tap “Declaration of Personal Effects and Unaccompanied Articles” to begin.

Complete the basic information for your customs declaration:
- Passport number
- Full name
- Occupation
- Date of arrival
- Flight name / ship name
- Point of embarkation

If you are travelling with others, select the number of people in your group.

Enter your address in Japan (same as before), then complete the declaration questions about items you are bringing into the country. Confirm all details and submit.


Customs declaration complete — your submission is recorded
Your QR Code — One Code for Everything
Once both the Disembarkation Card and Customs Declaration are complete, your unified QR code will be generated in the app. Present this QR code to the immigration officer at the airport. You will also scan it again at the customs gate.

Troubleshooting & Common Problems
Running into an issue? Here are the most frequently reported problems and how to fix them.
That said, a genuinely mandatory step is on its way. Japan has legislated JESTA, an ESTA-style travel authorization for visa-free visitors, targeted for fiscal 2028 — and unlike VJW, without it an airline won’t be able to board you at all. It’s a separate system that isn’t expected to replace VJW, and there is nothing to apply for yet.
Entry sorted? Now for the fun part — deciding where to actually go. If you’d rather skip the tourist crush, browse our pick of 16 hidden-gem destinations across Japan.
Our dedicated VJW FAQ guide covers: Is VJW required? How far in advance? VJW vs paper forms, and more.
JESTA, an ESTA-style travel authorization for visa-free visitors.
Screenshots sourced from the VJW Official Website · デジタル庁. Last updated May 2026.


